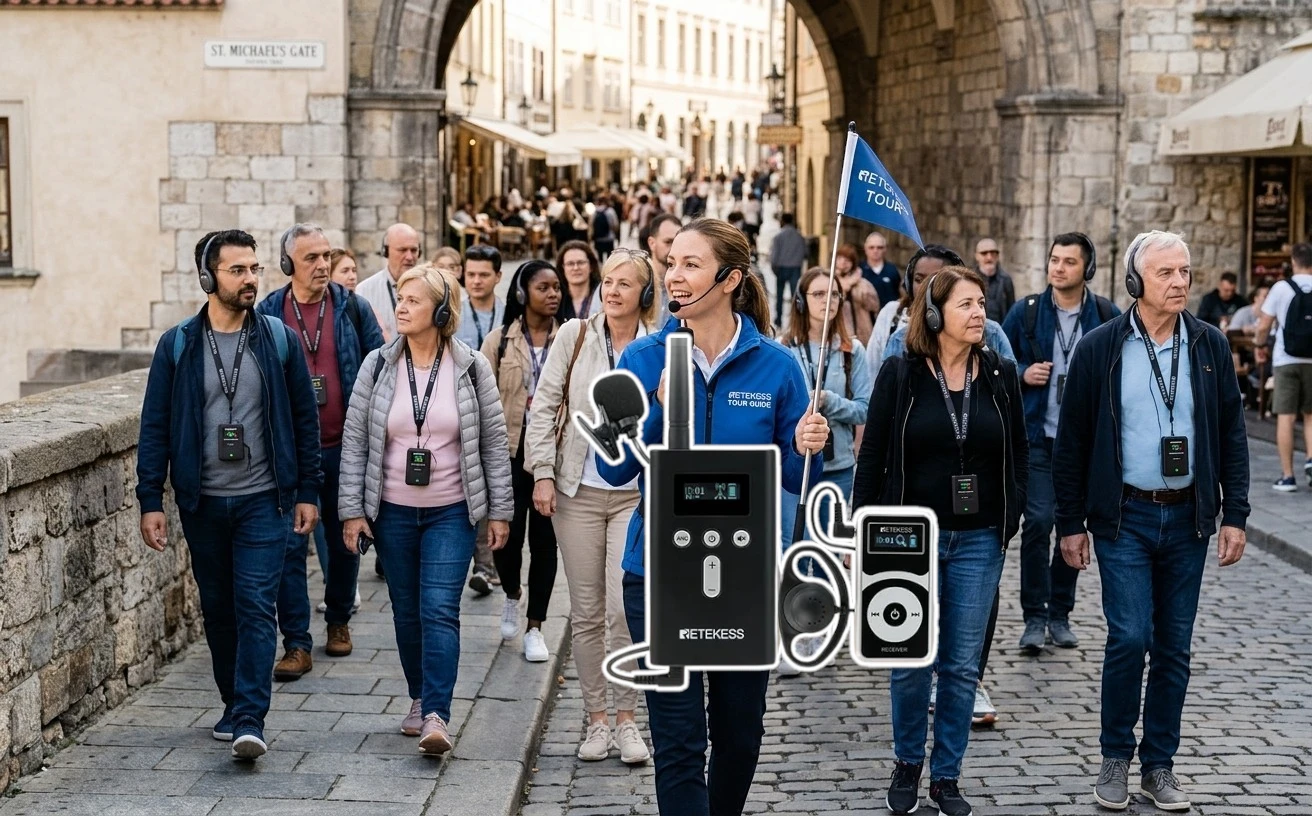
Leading a live walking tour through a bustling city is a delicate balancing act. You are competing with revving bus engines, chatter from crowded plazas, blaring sirens, and wind noise.
For decades, guides relied on portable megaphones or simply shouted at the top of their lungs. Today, traditional megaphones are increasingly banned in historic city centers across Western Europe and North America due to strict noise pollution laws. Even where they are permitted, yelling for two to three hours burns out a guide's voice and leaves guests at the back of the group straining to catch half of what was said.
To deliver a premium, stress-free guest experience, modern tour operators rely on wireless "whisper" tour guide systems. Here is a detailed breakdown of the essential equipment you need to power a professional live walking tour.
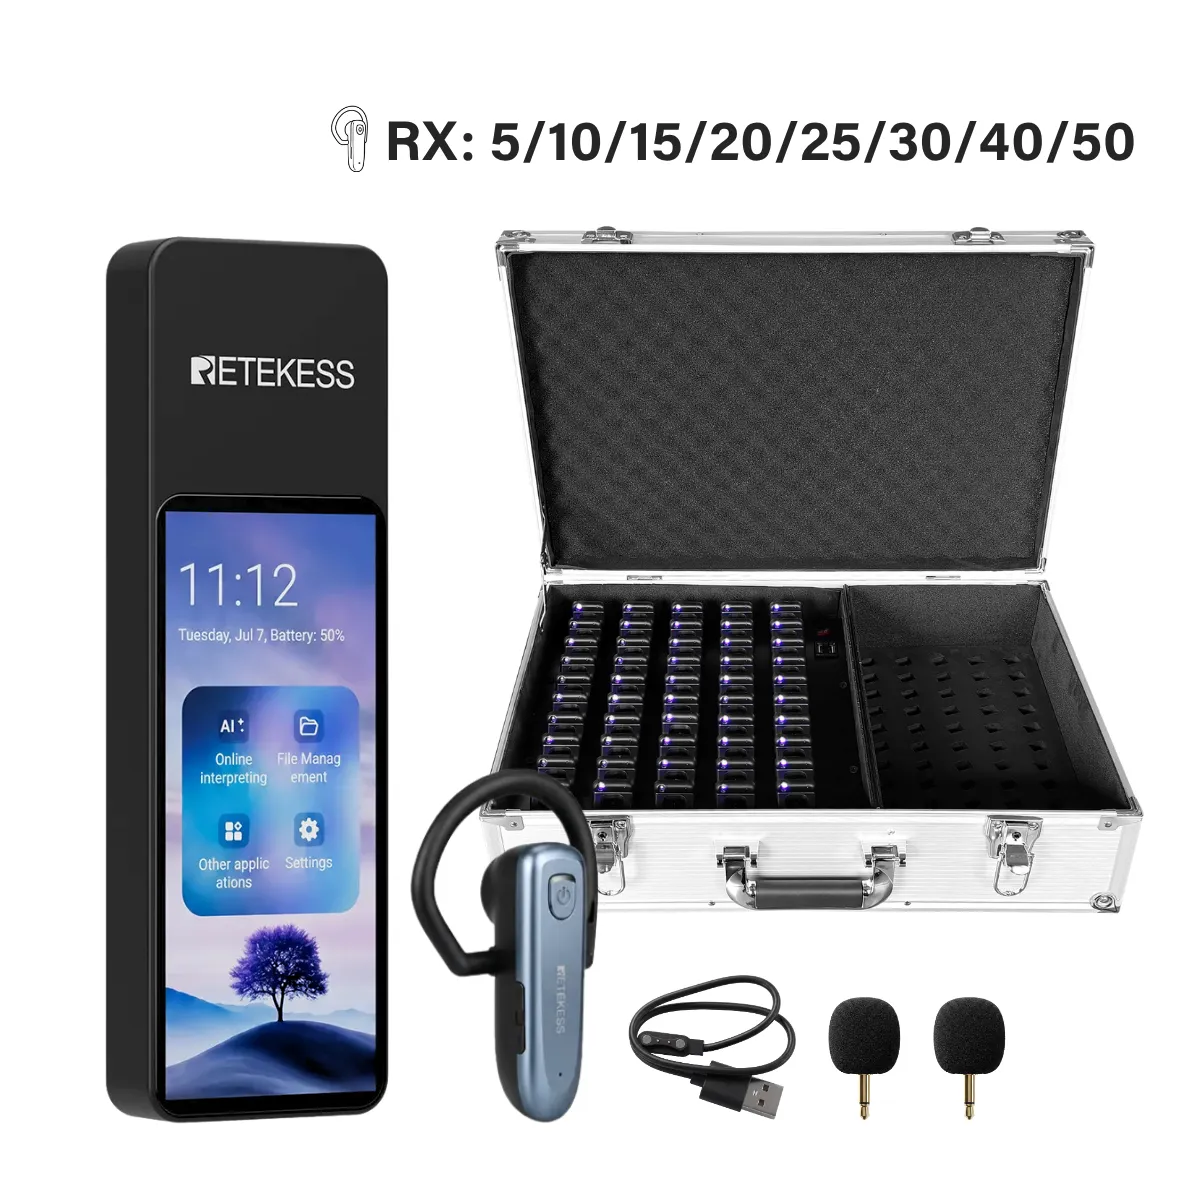
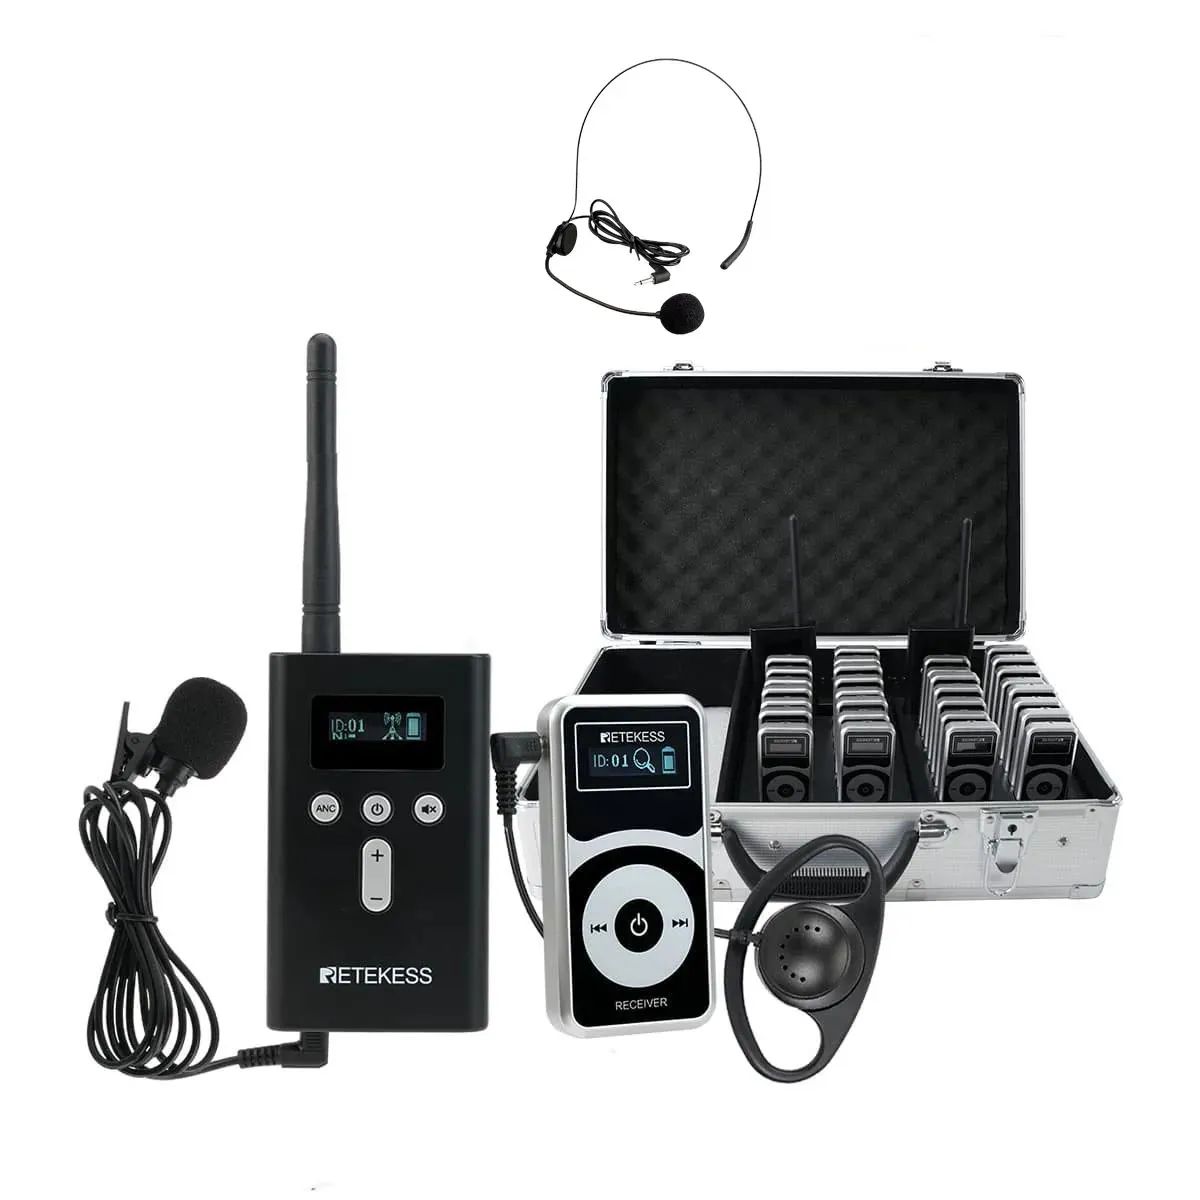
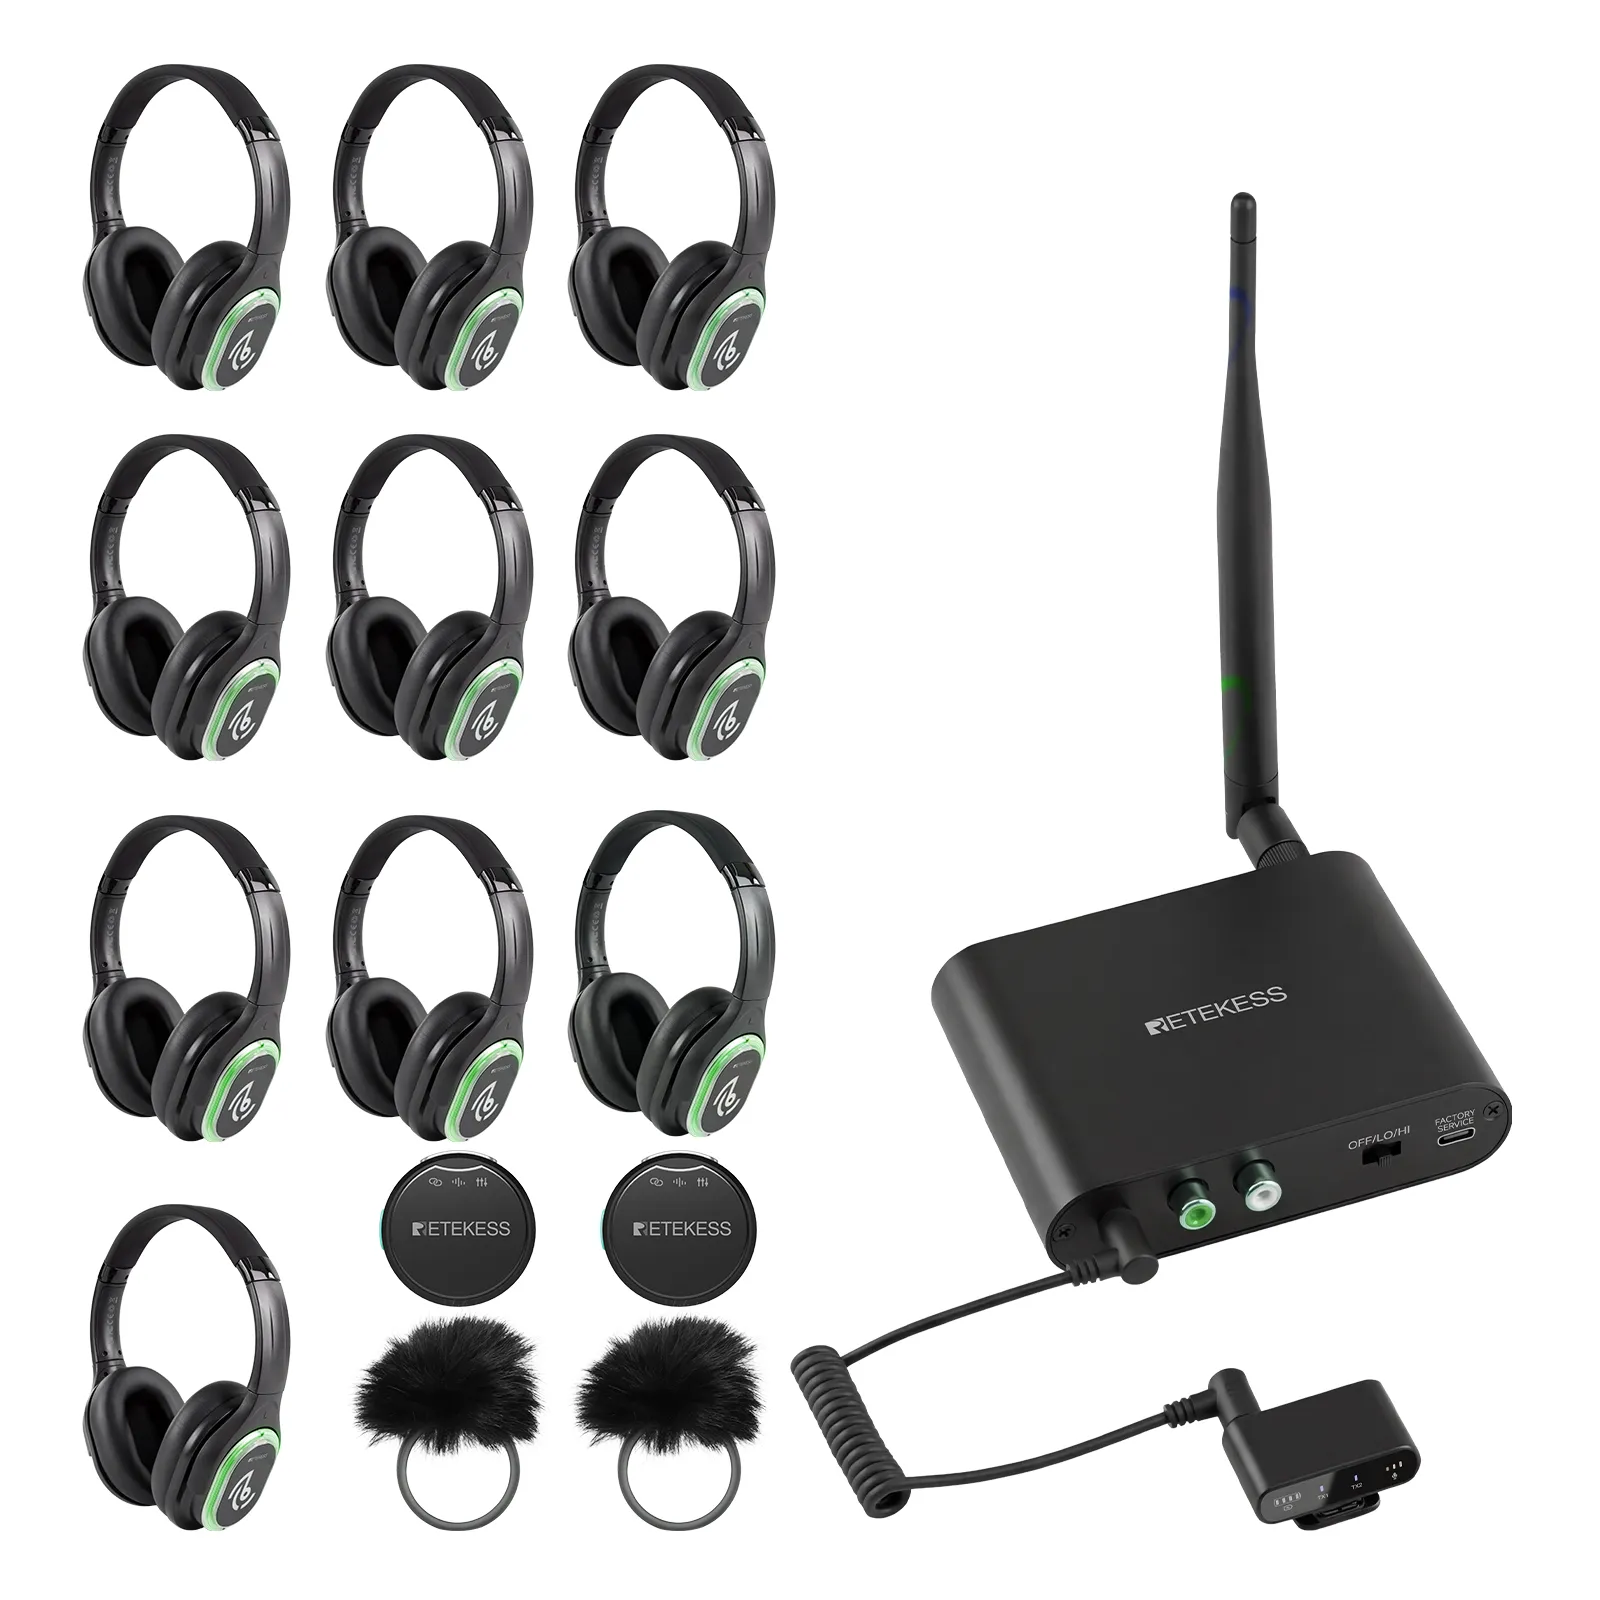
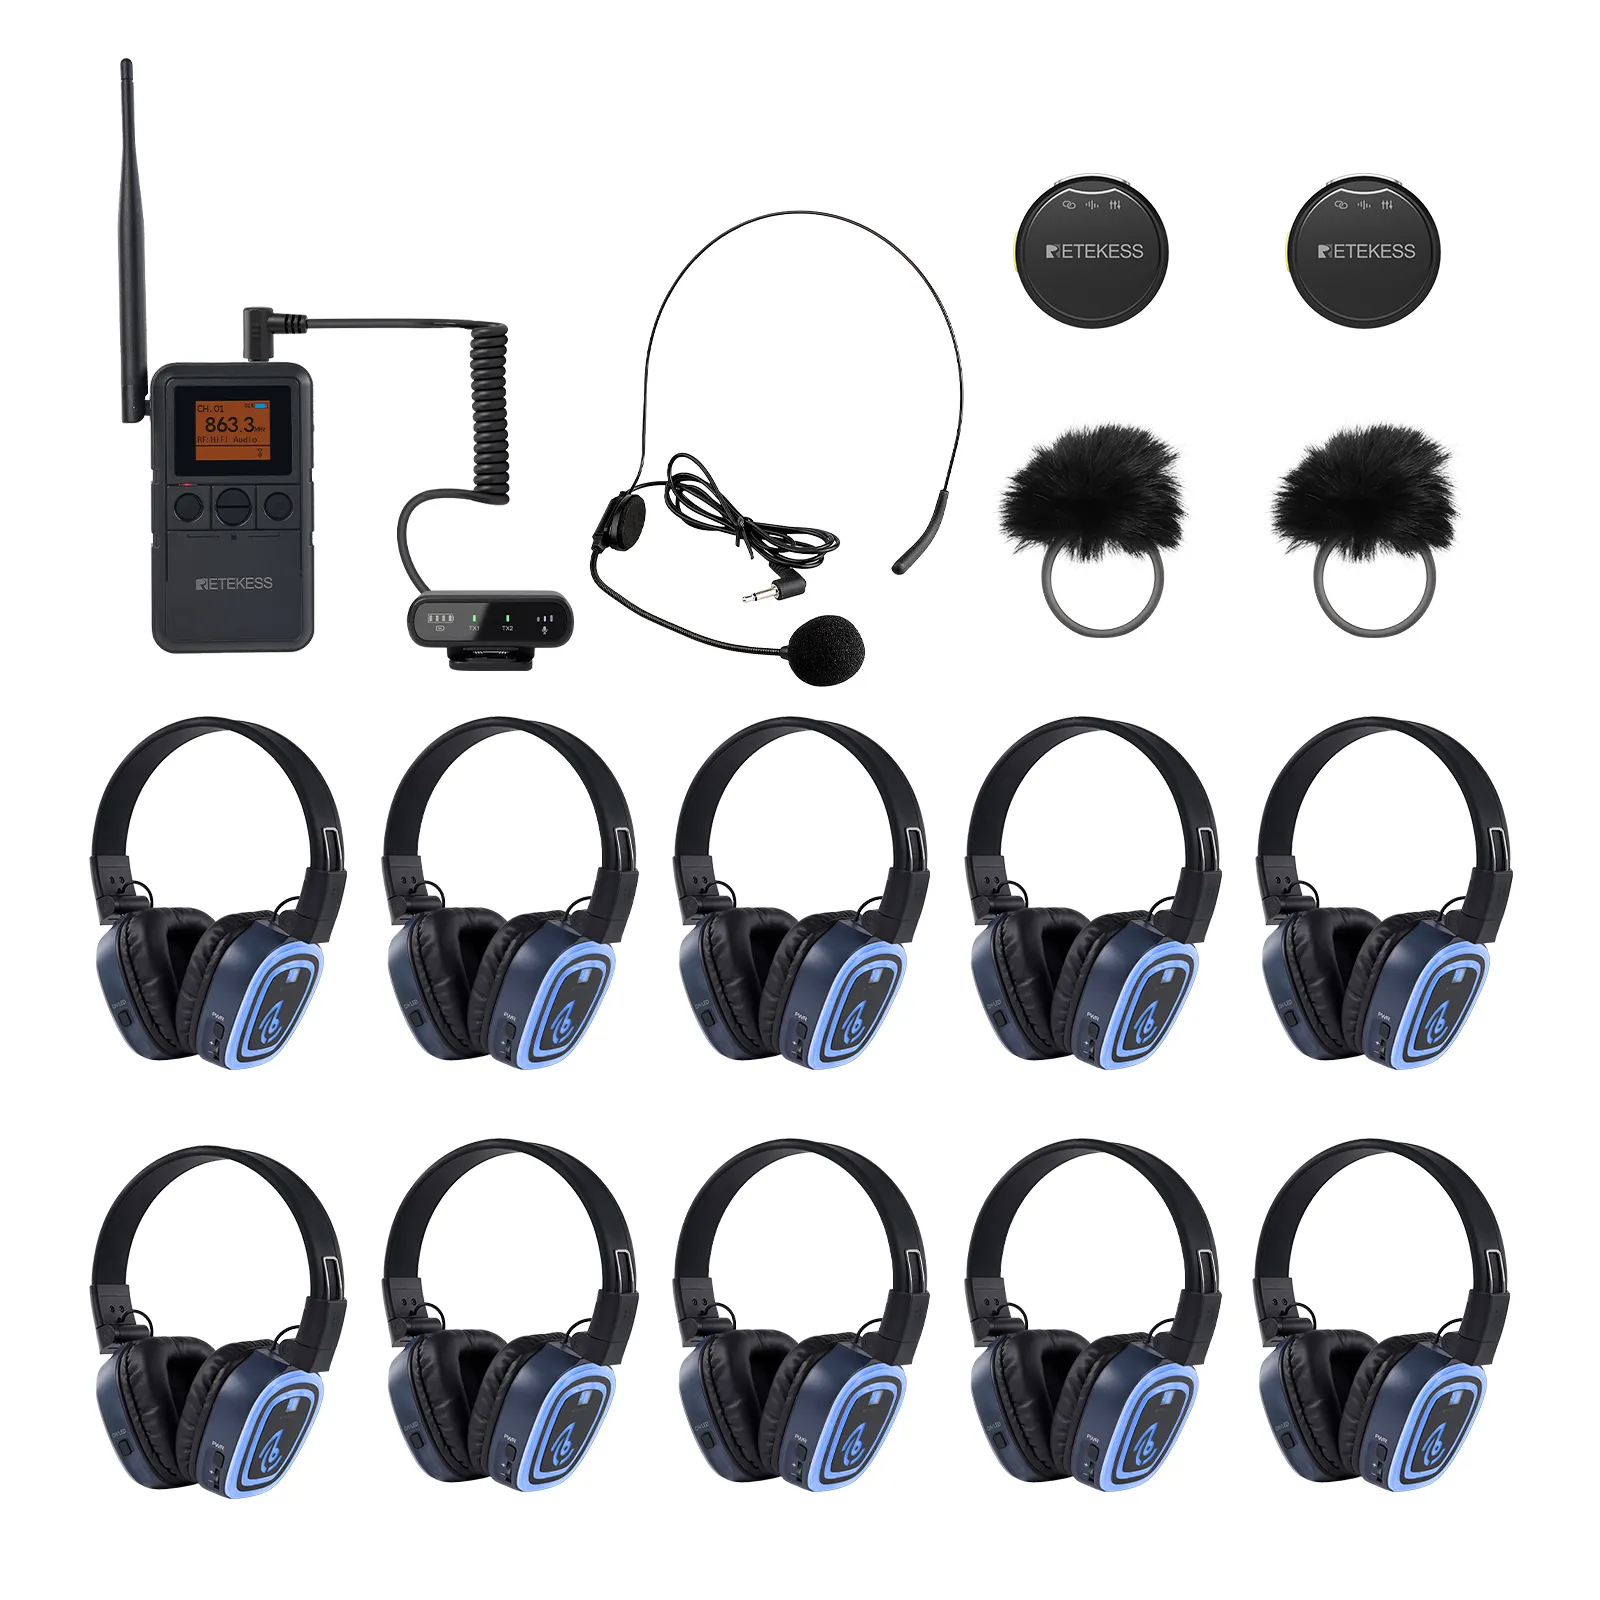
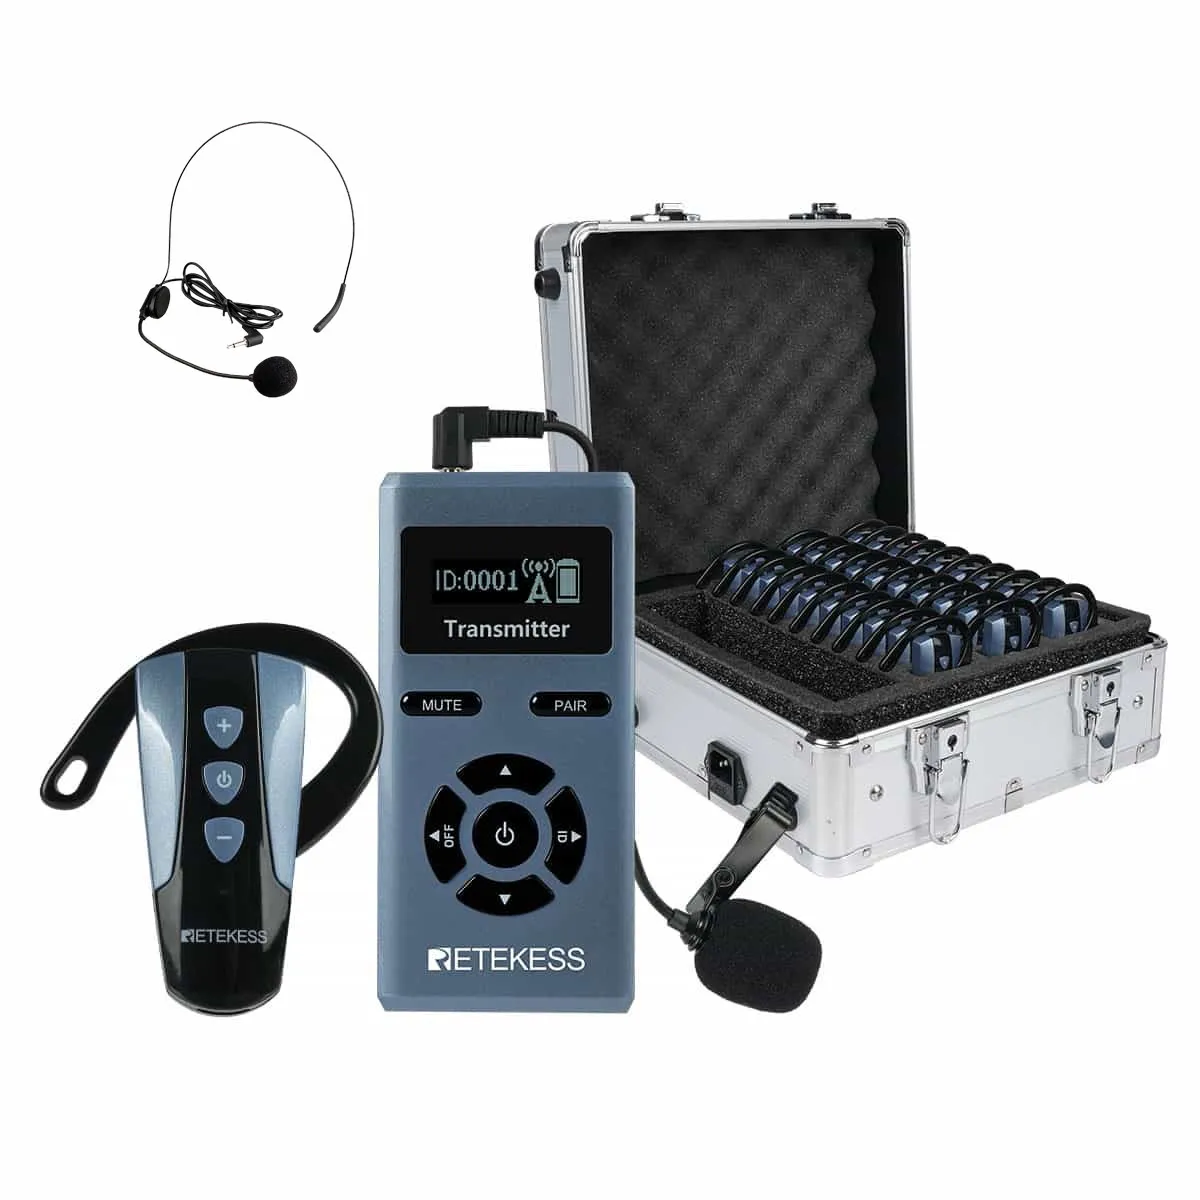
A complete wireless tour guide setup relies on three core hardware components working seamlessly together:
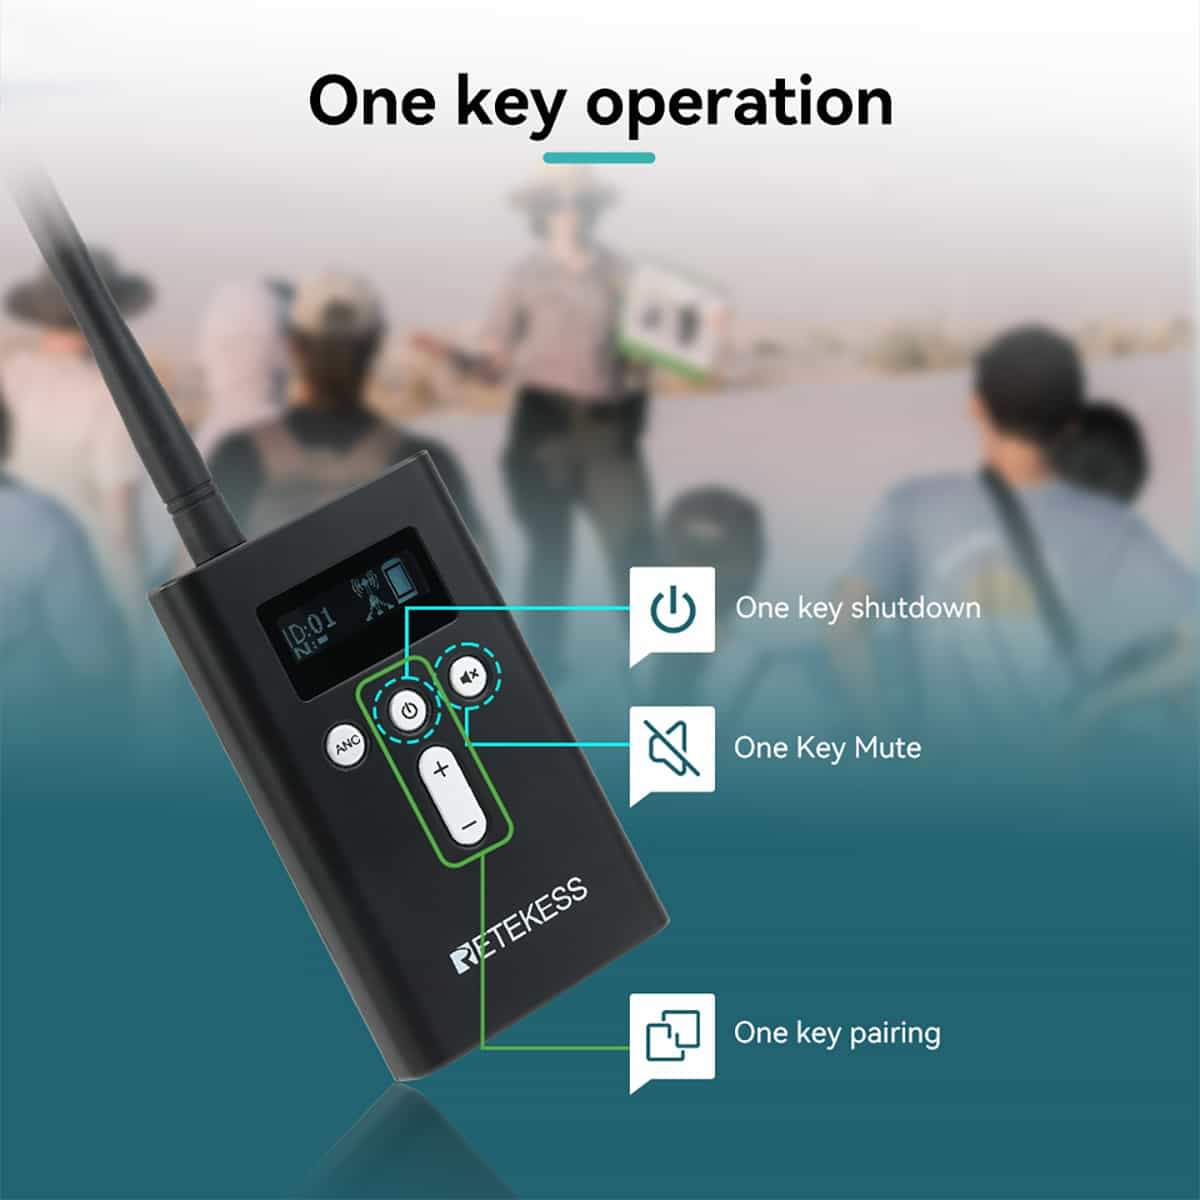
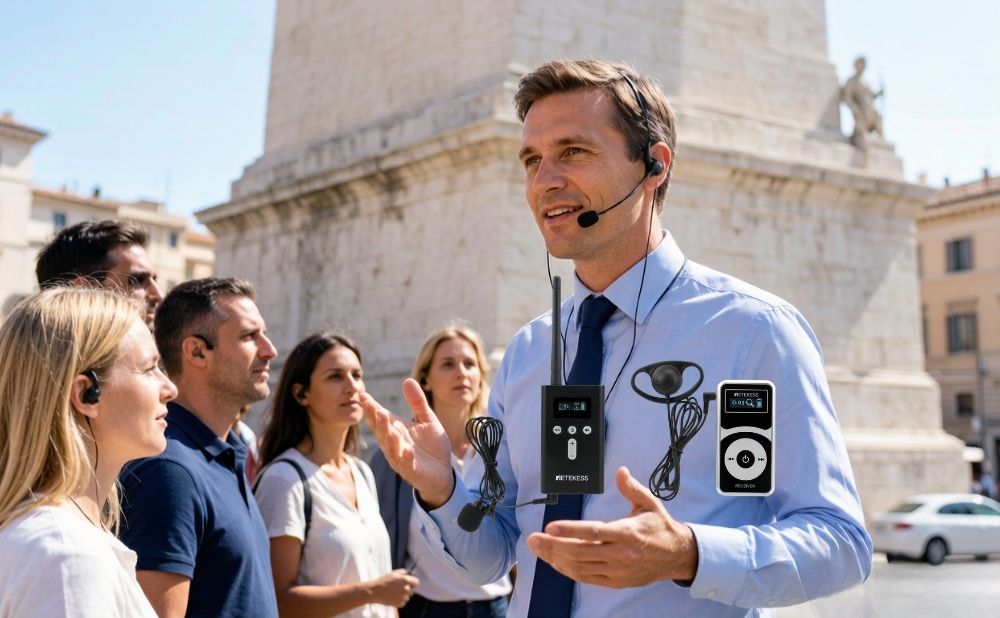
The transmitter is the heart of your tour. Worn on the guide's belt or as a lanyard around the neck, this compact, battery-powered bodypack broadcasts your voice digitally over a dedicated wireless frequency (typically 2.4 GHz for global license-free use or UHF for superior wall penetration).
Microphone Choice Matters: Always pair your transmitter with a headset or boom microphone rather than a lavalier (lapel) mic. A headset maintains a fixed distance from your mouth as you turn your head to point out historic landmarks, ensuring consistent audio levels.
Key Feature to Look For: Environmental Noise Cancellation (ENC) on the transmitter microphone strips away background street traffic and wind noise before broadcasting your voice to guests.
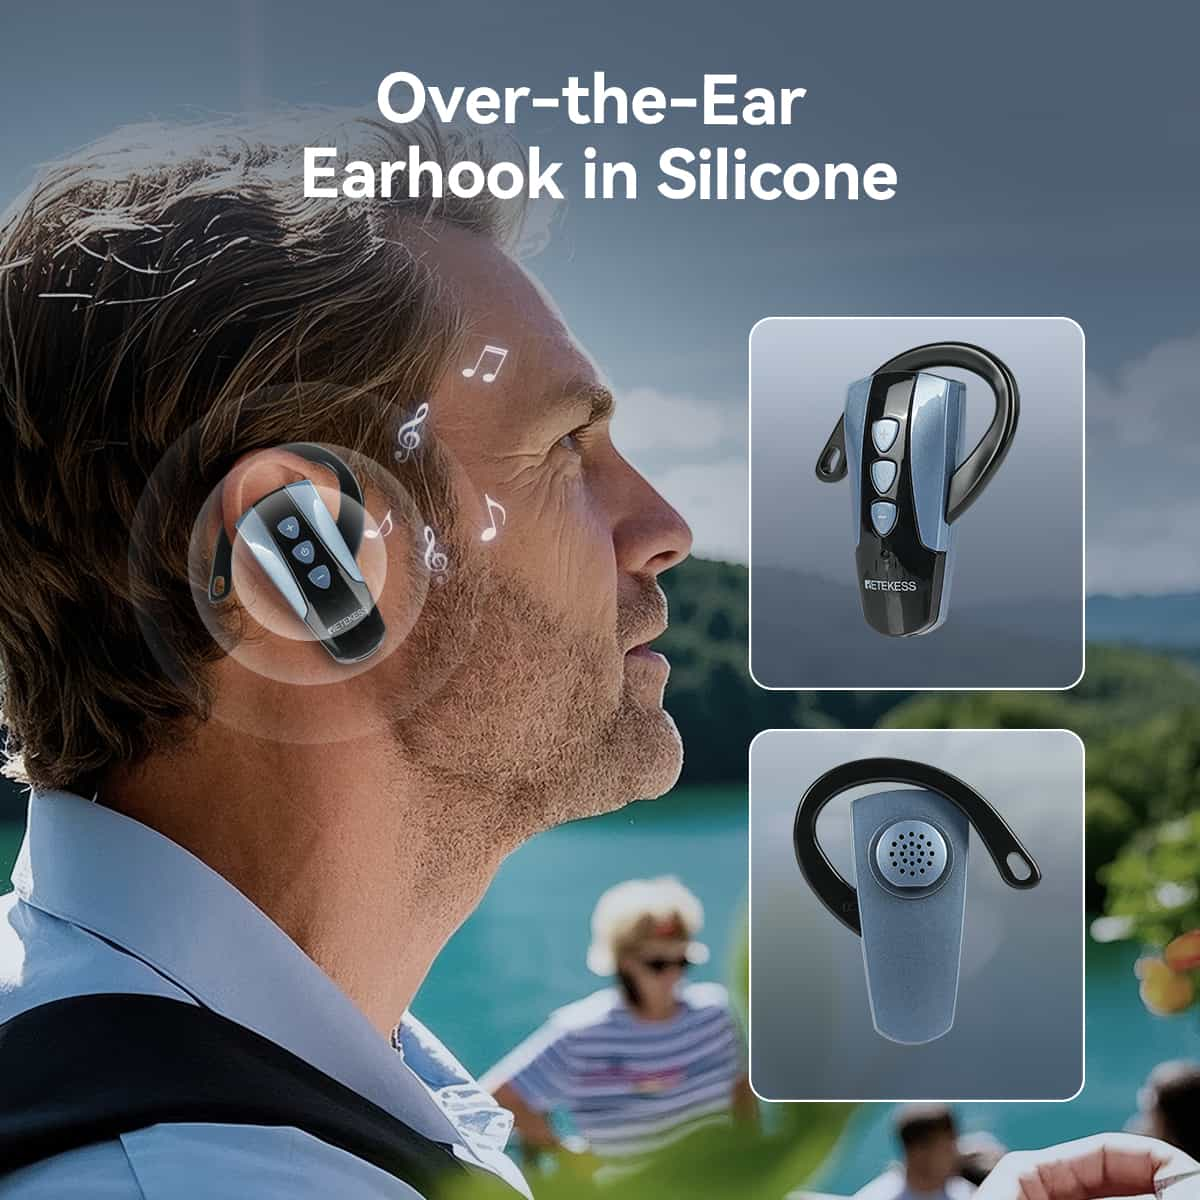
Every guest on your tour receives their own lightweight receiver pack or earhook unit. These devices automatically tune into your transmitter's frequency as soon as they are powered on.
Featherweight Design: Guests will wear these devices for several hours. Look for ultra-lightweight receivers (under 40 grams) so visitors forget they are wearing them.
Auto-Pairing & Channel Memory: Features like one-touch pairing allow you to sync 30+ receivers to your transmitter in seconds, saving 10 to 15 minutes of prep time before every tour departure.
How audio reaches your guests' ears is critical for safety and comfort in a live urban environment.
Spatial Awareness: Always supply single-ear earpieces or open-ear hooks. Unlike noise-isolating dual earbuds or full headphones, open-ear and single-ear designs allow guests to clearly hear your narration over traffic without losing their spatial awareness of bicycles, cars, and pedestrians around them.
Hygiene & Comfort: Open-ear hooks that rest outside the ear canal avoid the hygiene concerns of shared in-ear tips and accommodate guests of all ages comfortably.
If you manage a fleet of 10 or more receivers, plugging individual USB cables into wall outlets twice a day will quickly drain your staff's time and damage charging ports.
Multi-Slot Drop-In Charging Cases: Invest in a 16-, 32-, or 64-slot drop-in charging case. These serve as a single-motion solution to charge, store, and transport your entire fleet between tour departures.
Long Battery Life: Look for receivers with 16 to 50 hours of battery life. High-capacity battery systems turn nightly charging scrambles into a once-or-twice-a-week task.
When choosing equipment, consider how your tour flows:
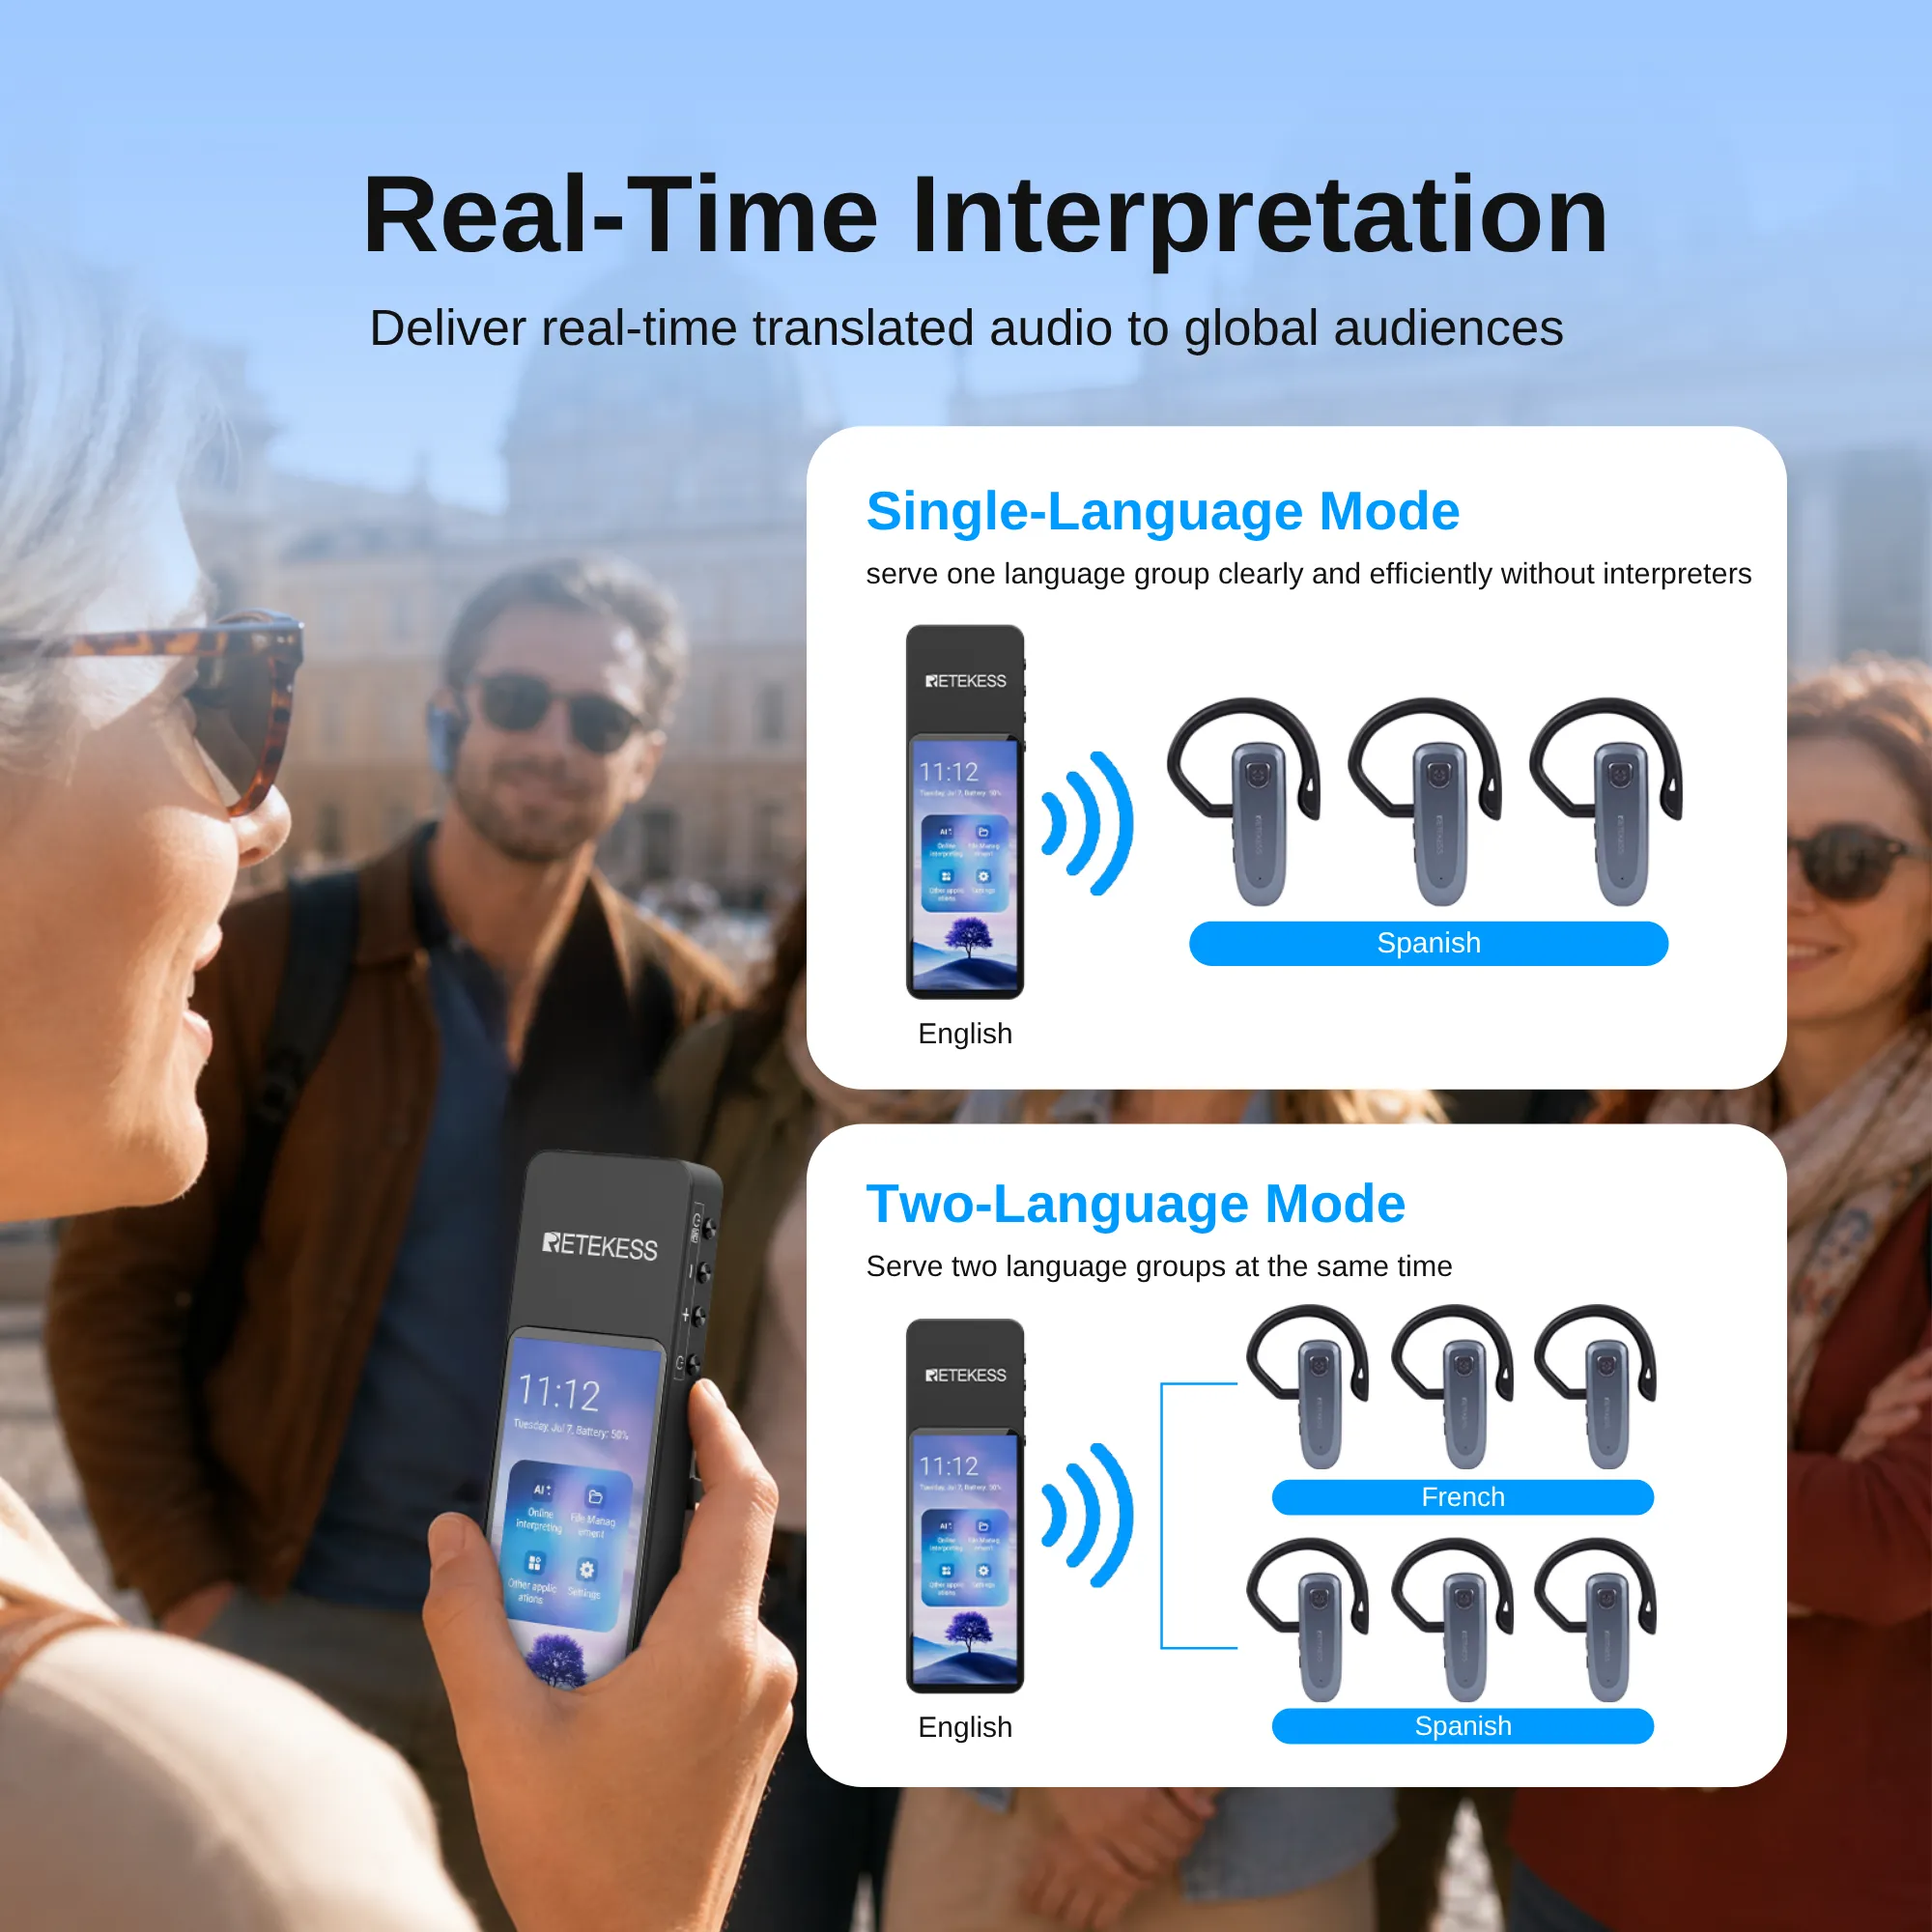
One-Way (Broadcast) Systems: The guide speaks, and guests listen. This is the industry standard for historic city walks, food tours, and large sightseeing groups where questions are naturally saved for designated stops.
Two-Way (Talkback) Systems: Every unit functions as a transceiver. Guests can press a button to speak directly into the group audio loop. This format is worth the investment for VIP client walkthroughs, small interactive workshops, or industrial factory visits.
Advertised range figures (e.g., "up to 200 meters") are measured in open fields. In historic city centers with stone walls, narrow alleys, and dense crowds, signal range can be cut in half.
Elevate Your Transmitter: Wear the transmitter pack high on your chest via a lanyard rather than clipped to a rear hip pocket. Your body is mostly water, which absorbs high-frequency radio signals—wearing the antenna high keeps the signal clear over crowd heads.
Test Heavy Coverage Zones: Walk your actual route during peak hours when streets are crowded to identify your venue's true signal boundary around corners and stone buildings.
Choose the Right Frequency: Use 2.4 GHz if you operate international tours across multiple countries without license restrictions, or UHF if you operate in heavy industrial sites with thick structural walls.
Watching a hands-on demonstration of how tour guide transmitters and earhook receivers operate in real-world street environments helps illustrate how simple pre-tour setup can be.







 Google
 Amazon