Popular Products
Popular Products

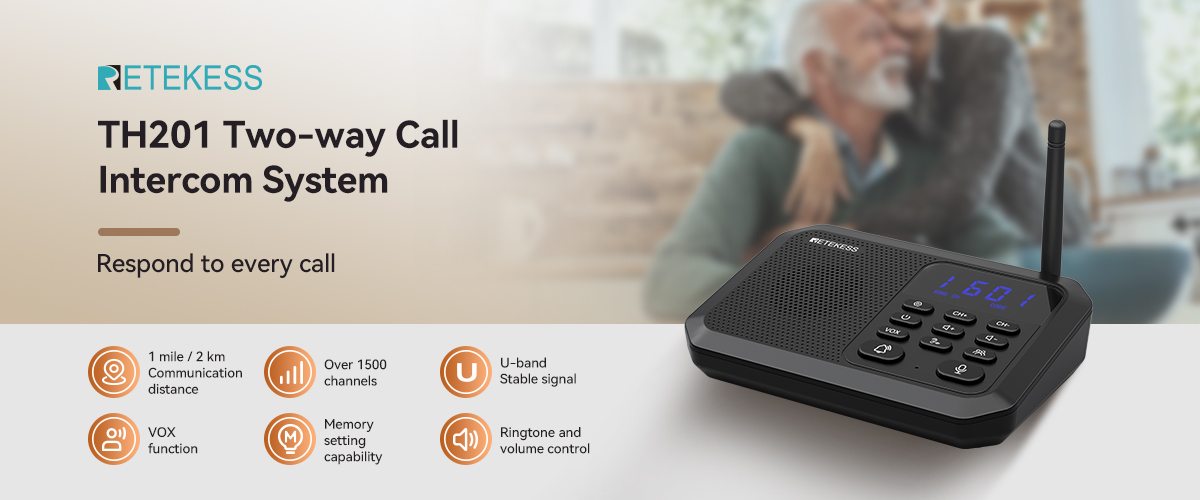
Retekess TH201 Calling System Operation Instructions
Retekess TH201 Calling System Operation Instructions
TH201 Product Notes:
1. The US version has 22 available channels (01-22) and 99 codes that can be set (01 - 99)
2. The European version has 16 available channels (01-16) and 99 codes that can be set (01 - 99)
3. Intercoms must have the same channel and code to establish a call
4. If multiple intercoms have the same channel and code, any message sent can be received by other intercoms
5. It is recommended that the intercoms be set to the same code, and then switch channels to establish a call with other intercoms. There is no need to change the code frequently
6. After modifying the channel and code, you need to execute the lock (save) function, otherwise the device will automatically return to the state before the modification after a period of time
Operation:
1. Power on/off
Press and hold the power button for 3 seconds to turn the intercom on or off. A "beep" sound indicates that the operation is successful
2. Set channel/code
(1) Short press the directory button, and the two-digit channel number on the left side of the screen will flash
(2) Short press the Channel +/Channel - key to set the channel (US version: 01 - 22; European version: 01-16)
(3) Click the Directory key again, and the two-digit code number on the right side of the screen will flash
(4) Press the Channel +/Channel - key to set the code (01 - 99)
(5) After completing the channel code setting, press the Directory key or the Call key to save and exit
Note: A call can only be established when the two intercoms have the same channel and code
3. Locking the channel/code
After setting the channel/code and saving it, long press the Directory key for 3 seconds. The intercom will beep, indicating that the channel/code has been locked successfully
Repeat the above steps to change the locked channel/code
Note: After locking the channel/code, if the intercom has no operation (no key pressed, no signal received or transmitted) for 1 minute, it will automatically return to the locked channel. If there is any operation or signal during this period, the operation will stop or the signal disappears, and the timer will be reset
4. Unlock channel/code
When the intercom is off, press and hold the power button and the "Channel +" button at the same time to turn it on. After turning it on, it will restore the default "01 01"
5. Volume setting
Short press the volume +/volume - button to adjust the volume of the intercom. The device will beep when adjusting the current volume level. When the volume is adjusted to the minimum or maximum, a "beep" sound will be heard
6. Ringtone selection
(1) In standby mode, press and hold the directory button and volume + button for 3 seconds to enter the ringtone setting
(2) At this time, only the "RING" indicator light in the status bar will light up. Then short press the channel + button or channel - button to select the ringtone (00-15)
(3) After selecting the ringtone, press and hold the directory button and volume + button again for 3 seconds to save the ringtone setting and return to standby mode
Note: "00" means no ringing, only light prompt.
7. Calling
Set the channel number and code number to the same as the intercom you want to call, then press the call button or the ring button to make the call. The "RING" indicator on the screen will light up, and both the local and called devices will ring
8. Talking
(1) Set the channel number and code number to the same as the intercom you want to establish a call with, then press and hold the call button. When the red light on the call button lights up, start talking. All intercoms with the same channel code can receive the call
(2) The called device presses and holds the call button. When the red light on the call button lights up, start talking and make a voice reply
(3) Release the call button to end the call
Note: A single voice message cannot exceed 1 minute. The device will not be able to receive messages if the call button is pressed.
9. Group calling
(1) Press and hold the intercom group button. The "GR" indicator on the display will light up, and the intercom will enter the sending state. At this time, you can talk to all devices in the entire signal range of the system
(2) Release the group button to end and exit the group call function, and the "GR" indicator light will go out
Note: The group call function is not affected by the channel or code
10. Turn on/off group call
(1) Turn on group call: Press and hold the group button and the volume + button at the same time. The intercom will beep and the "GR" indicator light on the screen will go out, indicating that the GROUP function has been turned on
(2) Turn off group call: Press and hold the group button and the volume - button at the same time. The intercom will beep and the "GR" indicator light on the screen will turn on, indicating that the GROUP function has been turned off
Note: The group call function is turned on by factory default